
Self-Sufficiency Garden Planning for Beginners: 5 Easy Steps To Get Started
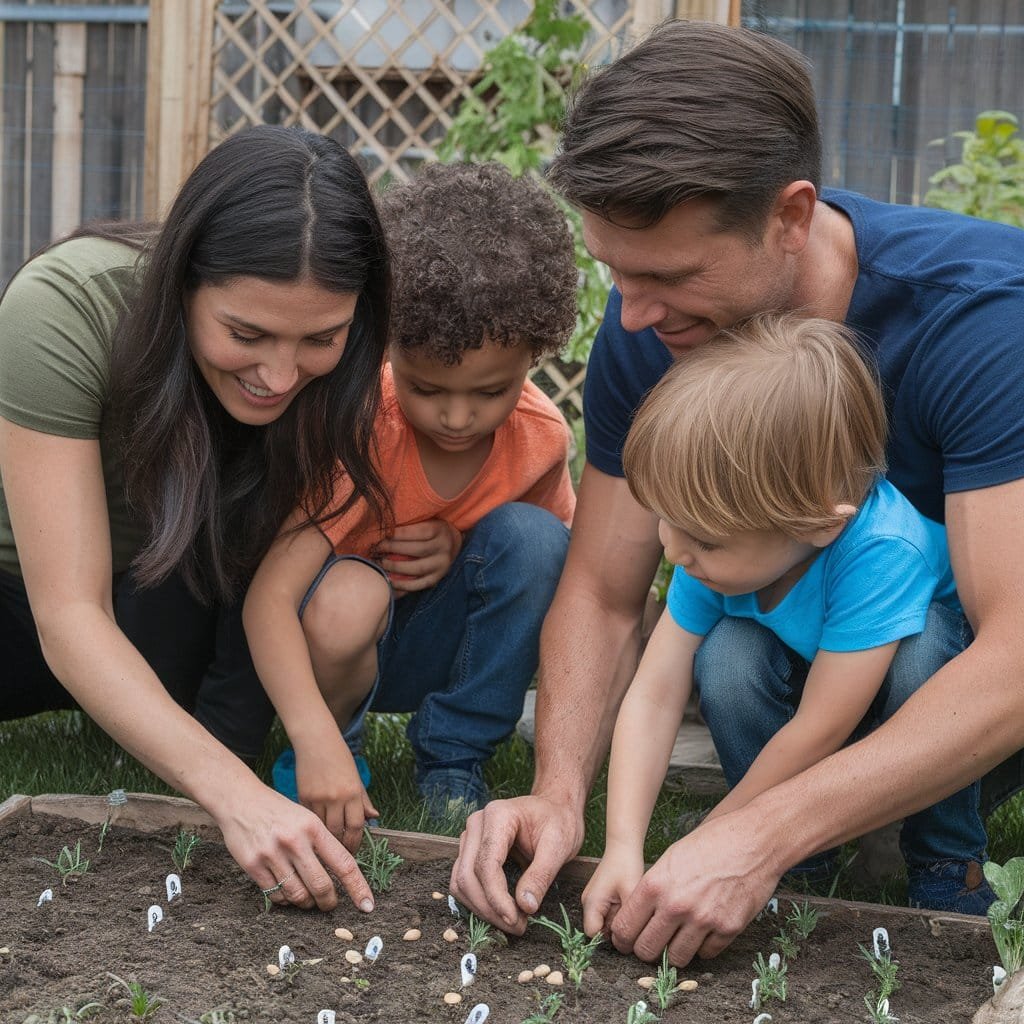
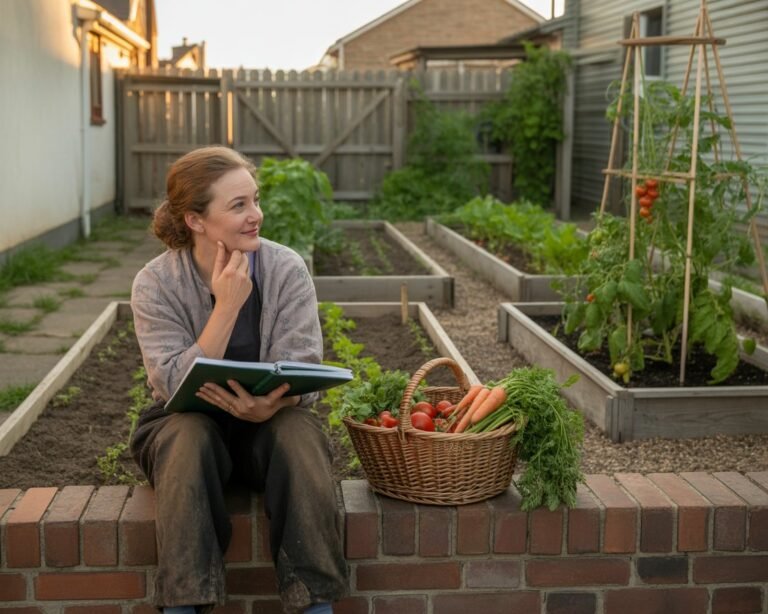
Every thriving garden begins with a plan — not just a tangle of good intentions and seed packets. As someone who’s transformed more than one bramble-filled patch into a thriving self-sufficiency garden, I know the excitement and the overwhelm that come with starting from scratch.
This guide will help you plan a self-sufficiency garden that not only grows food but also supports a sustainable, resilient way of life.

Getting Started With Your Self-Sufficiency Garden
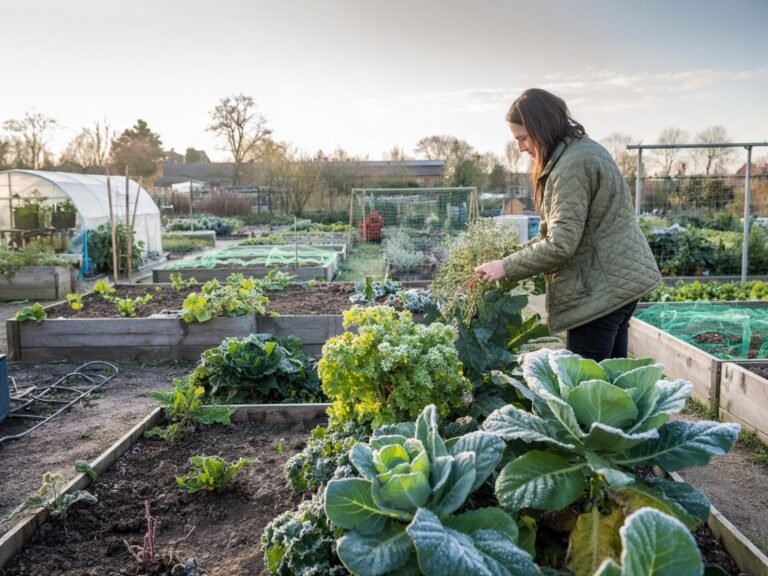
A self-sufficiency garden is more than a vegetable patch — it’s a living system that supports your household year-round. Whether you’re working with a few containers, a small back garden, or a full allotment, planning is what transforms chaos into productivity.
Start by assessing your space: note sunlight, shade, water sources, and wind direction. Next, define your goals — do you want to grow seasonal veg, herbs for cooking, or preserve produce for winter?
Sketch your layout on paper or use a simple garden planner notebook. Group plants with similar needs, and allow space for composting or rainwater collection if possible.
Work in phases, not perfection. Begin with a few easy wins such as salad leaves, herbs, or soft fruit. Add new elements like raised beds or compost bays as you go.
Finally, establish a rhythm: plan planting calendars, record yields, and adapt your design over time. Transformation is gradual — but every small step gets you closer to living more sustainably.
Every garden has a story, and yours is about to begin. Keep reading for a step-by-step plan to help you turn that overgrown patch into a flourishing self-sufficiency garden that grows with you.
Step 1: See the Potential in Your Space
Before you reach for a spade or seed packet, take time to really see your garden. Every self-sufficiency garden begins not with digging, but with observing. What you have right now — even if it looks overgrown or chaotic — holds the blueprint for your future harvests.
Start by walking your space slowly, ideally at different times of the day. Notice where the sun falls in the morning and where the shade lingers longest. You’ll quickly learn which areas are best suited to sun-loving crops like tomatoes or courgettes, and which might be better for leafy greens or herbs that prefer partial shade.

After a heavy rain, watch how water behaves. Does it pool in certain areas or run off too quickly? These natural drainage clues will help you decide where to position raised beds, water butts, or compost bays. If your soil feels compacted or lifeless, don’t despair — most gardens start that way. A simple Soil Test Starter Kit will tell you the pH and texture so you can improve it gradually with compost or organic matter.
Look out for what’s already thriving. Mature trees, herbs that have self-seeded, or even “weeds” like nettles, can all serve a purpose. Nettles, for example, make fantastic fertiliser tea. Existing plants often show you the natural fertility and moisture levels of your future self-sufficiency garden.
When I started my first self-sufficiency garden, I nearly tore out an entire patch of brambles before realising they were providing food for pollinators. Those very bees later helped pollinate my strawberries and courgettes. Sometimes what looks like a nuisance is part of the system you’ll rely on later.
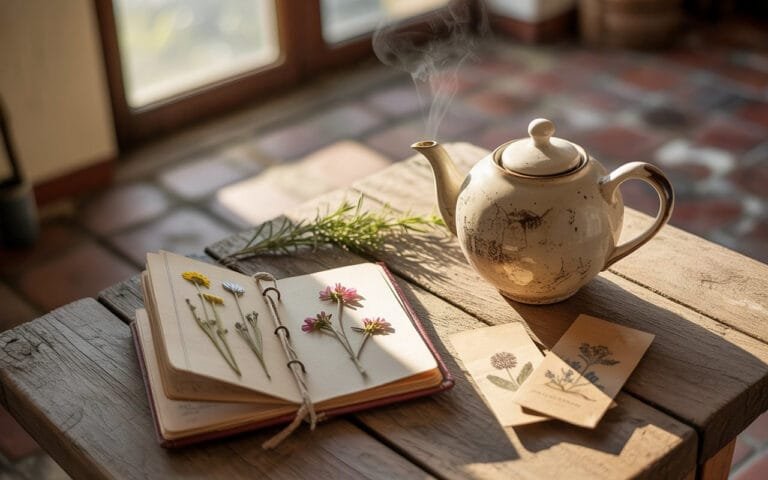
Once you’ve gathered your observations, jot everything down in your garden planning notebook. This record will be invaluable when it comes to mapping out your layout in Step 2.
If you’re unsure where to begin, our free Self-Sufficiency Quick Start Checklist is a great way to dip your toes into self-sufficiency over five days, without needing to buy anything or commit a huge amount of time. It’s a great option for testing the water!
🌿 Grow Make Learn Tip: Don’t rush to “clear” everything right away. Nature might have already started the groundwork for you.
Step 2: Design Your Self-Sufficiency Garden Layout
Once you’ve mapped the light, soil, and flow of your space, it’s time to turn your ideas into a simple layout for your self-sufficiency garden. Think of this as drawing the blueprint for your future harvests — practical, personal, and perfectly imperfect.
Start with paper and pencil. Sketch roughly to scale, marking permanent fixtures like paths, sheds, and trees. Don’t worry about precision; this isn’t an architect’s plan — it’s your working guide. If you prefer digital tools, free online planners such as SmartGarden UK Layout Tool (external link) make this process easy.
Next, decide which areas will serve different purposes:
- Growing zones: raised beds, container areas, or vertical gardens for climbing crops.
- Composting area: somewhere accessible but discreet.
- Rainwater collection: place butts where downpipes naturally drain.
- Relaxation space: yes, even a self-sufficiency garden needs a cup-of-tea corner.
Group plants by needs — sun-lovers together, shade-tolerant crops nearby, thirsty plants close to your water source. Use string or bamboo canes to mark these sections before digging. A Garden Planner And Log Book helps visualise spacing and companion planting.
My first proper plan was sketched on a bit of scrap paper pulled from the recycling bin. It wasn’t pretty, but it worked — and seeing that rough design evolve into a thriving self-sufficiency garden was deeply satisfying.
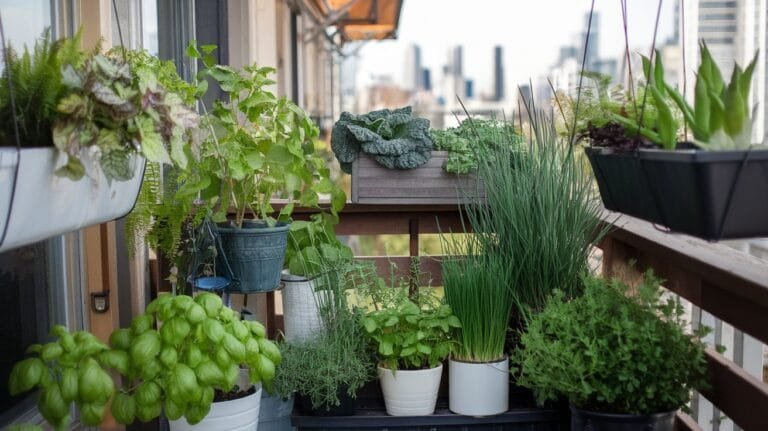
If your budget is tight, start small with modular raised beds or containers. You can expand season by season as you gain confidence. Our Grow Make Learn Subscription Box often includes compact grow kits designed for small-space self-sufficiency gardens — ideal for testing layouts before committing to larger infrastructure.

💡 Grow Make Learn Tip: Plan for your future self. Leave paths wide enough for a wheelbarrow, space for composting expansion, and easy watering access. Good design today prevents frustration tomorrow.
Step 3: Set Realistic Goals and Budget Wisely
It’s tempting to want everything at once — raised beds, a greenhouse, a water system, a dozen varieties of vegetables — but the truth is, trying to do everything is the fastest way to burnout. The best self-sufficiency gardens grow gradually, season by season, rooted in realistic goals and thoughtful spending.
Start by asking yourself: What do I actually want to achieve this year?
Your answers might include “grow enough salad greens to stop buying bags from the supermarket” or “learn to compost properly.” These small, measurable goals will build confidence and momentum.
Prioritise Your First Wins

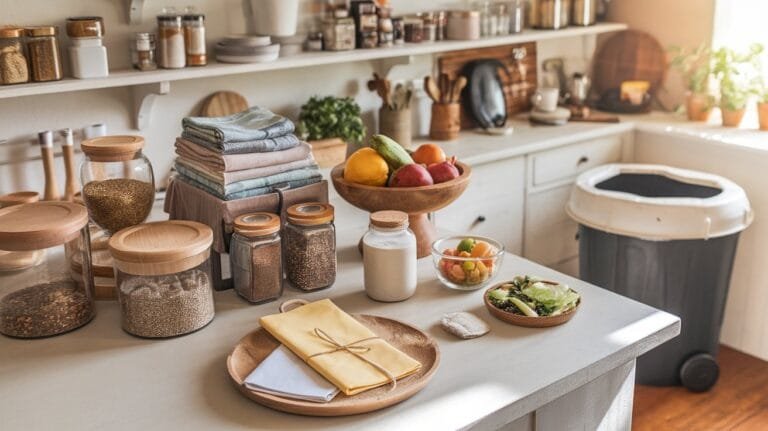
Choose crops that are quick, reliable, and forgiving. Salad leaves, radishes, peas, and herbs offer fast rewards and can be grown in containers if space is tight. Repurpose what you already own — old pallets can become raised beds, yoghurt pots can start seedlings, and broken terracotta pots can make charming wildlife shelters.
If you need basic tools, look for affordable starter kits such as the Fixmend Garden Tools Set, which I have, is a great option that includes trowels, gloves, and snips for under £25.
My first self-sufficiency garden cost less than a takeaway and taught me more than any course ever could. I built beds from scrap wood, bartered compost for jam, and grew enough kale to last all winter.
Budgeting Tips for Beginners
- Reuse & Repurpose: Local Freecycle pages often have pots and timber.
- Invest in Quality Soil: Good compost is worth every penny.
- Buy Seeds, Not Plants: You’ll get hundreds of plants for pennies. Our Grow Make Learn Subscription Box includes curated seed kits suited to small self-sufficiency gardens.
- Track Spending: Use a notebook or spreadsheet to log purchases and reusables.

💡 Grow Make Learn Tip: Don’t see a small budget as a barrier — see it as a design challenge. The best self-sufficiency gardens grow from creativity, not cash.
Our free Garden Transformation Guide includes various pintables to get you started, this is the perfect point to review your “resources you already have” section. Knowing what’s available — both in your shed and in your budget — stops impulse spending and keeps your transformation plan realistic.
Step 4: Build Habits, Not Just Beds
A thriving self-sufficiency garden isn’t built from soil and seeds alone — it’s sustained by the habits behind them. The real magic happens not in a single burst of energy, but in the quiet, consistent moments: a morning check for slugs, an evening wander with the watering can, a quick note in your garden journal.
Create a simple weekly rhythm:
- Monday: Check seedlings and repot.
- Wednesday: Turn compost or add kitchen scraps.
- Friday: Water deeply and check for pests.
- Weekend: Harvest, tidy, and enjoy your progress.

If you like structure, try a seasonal grow planner app. It helps you log tasks, reminders, and sowing times — perfect for busy homesteaders. Personally, I LOVE the GrowVeg garden planner and cannot recommend it enough. You’ll see me use it so often in our Back To The Good Life videos!
Keep a garden journal to track your lessons — what thrived, what failed, when the slugs struck, and how long crops took to mature. Over time, this becomes your personal almanac. I still have my first journal from years ago — half notes, half doodles — and it’s a goldmine of what not to repeat (like sowing 42 courgette plants because I didn’t think any would germinate)
Nothing fancy — just tick boxes for watering, weeding, and composting — but it helped me stay accountable. Before that, I’d go a week without looking and wonder why everything had wilted! Small consistency beats big bursts every time.
Remember, building a self-sufficiency garden isn’t just about growing food; it’s about growing yourself. The patience, observation, and persistence you learn in the garden ripple into every part of life.
If you’ve downloaded the Garden Transformation Guide, add to the Weekly Garden Rhythm” page to turn good intentions into steady progress habits.
💡 Grow Make Learn Tip: Set a daily reminder called “Step Outside.” Even two minutes noticing your garden’s changes will keep you connected — and that’s where true success grows.
Step 5: Plan for Growth — Literally and Figuratively
By now, your self-sufficiency garden is taking shape — the soil’s improving, a few beds are thriving, and perhaps you’ve already tasted your first harvest. The next step is to plan for growth, but do it intentionally.
Start with perennials, those glorious “plant once, enjoy for years” crops. Strawberries, rhubarb, asparagus, chives, and thyme all return reliably each year, saving you time and money. They also help stabilise soil and attract pollinators. If you’re short on space, try perennial herbs in large pots or troughs.
Next, explore companion planting — pairing crops that benefit each other. Basil with tomatoes, carrots with onions, and marigolds near beans all help deter pests naturally. We have a free Companion Planting Tool over on Back To The Good Life; it’s a brilliant resource for building a garden that balances itself.
Consider succession planting, too: sowing little and often rather than all at once. This keeps your harvests steady and your garden productive.
In my second year of self-sufficiency gardening, I realised I was chasing variety rather than balance. Once I started planting for pollinators and timing harvests mindfully, my garden — and mindset — transformed.

If you’re using a digital tool like GrowVeg’s Garden Planner, you can schedule sowings to maximise space and time.
And don’t forget sustainability: install a water butt (or rainwater barrel, for our American friends!) system to reduce reliance on tap water and keep your garden resilient.
💡 Grow Make Learn Tip: Each season, choose one new thing to learn — whether it’s seed saving, pruning fruit bushes, or fermenting your first batch of homegrown veg. The garden will teach you patience, resilience, and resourcefulness — and those are harvests you can’t measure in kilograms.
If you’re part of the Grow Make Learn community, we’ll be adding a digital library of tutorials on crop rotation, preserving, and soil health for you to check out during your journey!
From Plans to Produce — Growing Your Self-Sufficiency Garden
Creating a self-sufficiency garden is more than a weekend project — it’s a lifestyle shift toward resilience, creativity, and independence. The transformation begins long before the first seed is planted; it starts with the decision to work with nature rather than against it.
By observing your space, designing a thoughtful layout, setting achievable goals, building consistent habits, and planning for long-term growth, you’ll create a self-sufficiency garden that nourishes both your household and your sense of purpose.
Your garden doesn’t need to be perfect to be powerful. A few raised beds, some recycled containers, or even a windowsill full of herbs can be the roots of something extraordinary. Each small action — composting scraps, saving rainwater, planting pollinator-friendly flowers — adds up to a more sustainable and fulfilling life.
Personal note: When I look back on my first self-sufficiency garden, it wasn’t the size of the harvest that made me proud — it was the shift in how I saw the world. I stopped seeing “waste” and started seeing resources; I stopped rushing and started observing. That’s the real transformation.
If you’re ready to take your next step, download our Garden Transformation Starter Guide — your free guide to planning a productive self-sufficiency garden that fits your life and space.
And if you’d love more guidance, our Grow Make Learn Subscription Box delivers seasonal grow kits, DIY projects, and digital learning tools straight to your door — everything you need to grow confidence, skill, and self-sufficiency, one box at a time.
🌿 Grow Make Learn Tip: Every thriving self-sufficiency garden begins with a single seed — and the courage to plant it.

6 Comments